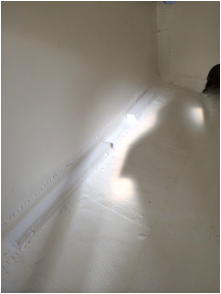
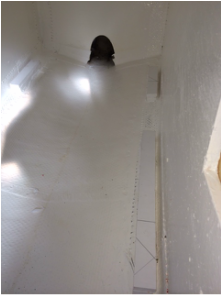
It has been a while since our last post, but worry not we have been chipping away at our project lists. Fall has officially hit the Pacific Northwest! About two weekends ago the first storm devoured our visqueen tarp that had been keeping the boat safe all summer. Jeff went to the yard the day after the storm and found the tarp split in two flapping on the ground below the boat, as well as a very very wet boat interior! He was able to quickly dry up the boat and affix a new heavy duty tarp until we are able to shrink wrap it in a few weeks.
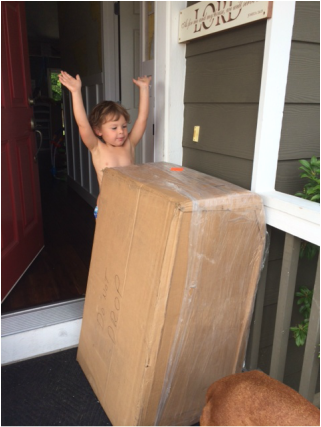
This past few weekends we have focused on getting the aft section of the boat fairly wrapped up. We ordered a new, custom diesel tank from Custom Marine Tanks in Florida. (They were wonderful to work with as well as faster than other manufacturers in our area. We would highly recommend checking them out if you are looking for new tanks!) It recently arrived!
This past few weekends we have focused on getting the aft section of the boat fairly wrapped up. We ordered a new, custom diesel tank from Custom Marine Tanks in Florida. (They were wonderful to work with as well as faster than other manufacturers in our area. We would highly recommend checking them out if you are looking for new tanks!) It recently arrived!
| 
| 
|
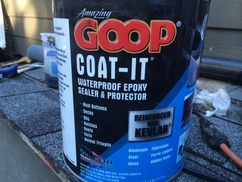
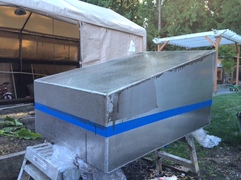
To better protect our new tank from the fate the last tank faced (if you did not see click HERE to see the old tank) Jeff coated the bottom half with an epoxy sealer. The application was close to impossible, he used everything from a brush, a roller, a large putty knife to a piece of cardboard. He was able to get a surprisingly even coat, time will tell if this extra step was worth while.
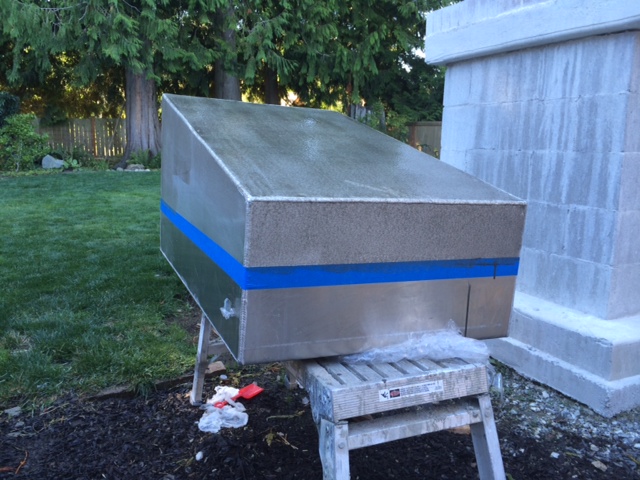
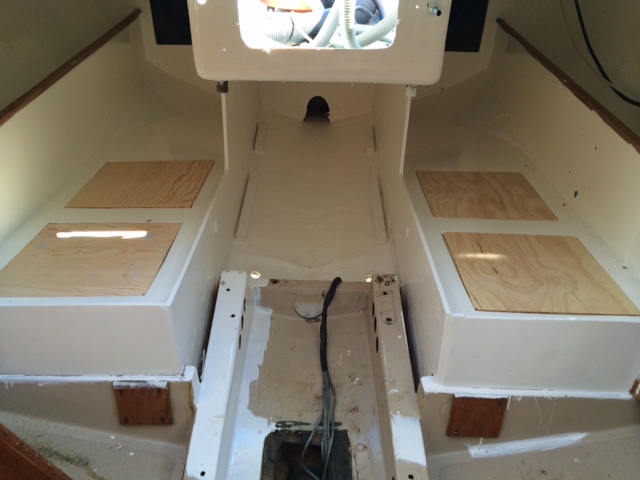
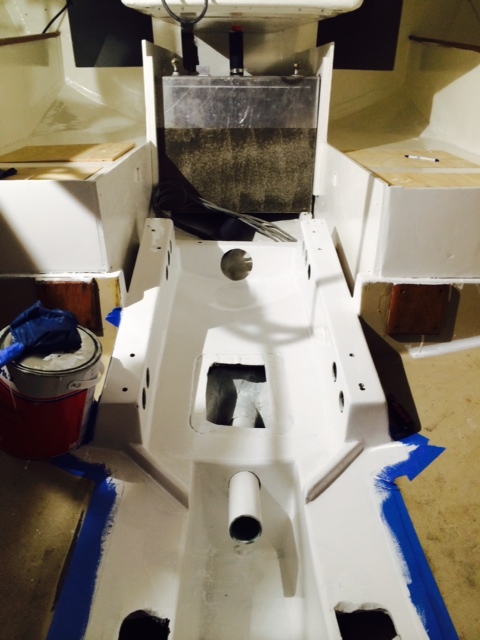
After sealing the tank, attention was focused on its new resting place. After a quick dry fit, Jeff cut and mounted starboard rail supports for the tank's base. Once the supports had set up we were able to slide the tank into its final resting place!
After sealing the tank, attention was focused on its new resting place. After a quick dry fit, Jeff cut and mounted starboard rail supports for the tank's base. Once the supports had set up we were able to slide the tank into its final resting place!
| 
|
| 
|
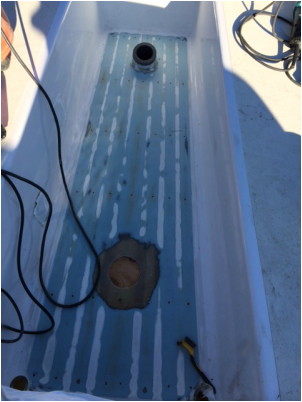
Before we inserted the tank we removed the teak decking in the cockpit and found the tank fill was originally drilled in the incorrect spot we we chose to redo the fill hole. Jeff first cut out a larger hole with a hole saw so that the two holes were now one large. Then he ground down the area and cut a piece of plywood to fill the entire hole. We then fiber glassed the piece in with alternating layers of fiber-cloth and chop fiberglass. I will post more on the cockpit refinishing soon.
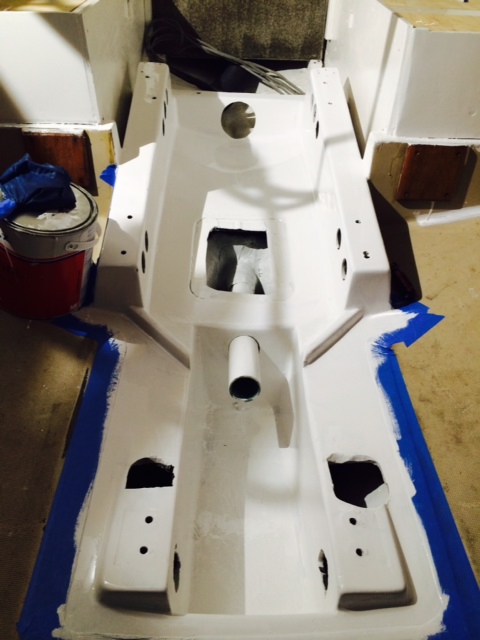
We also painted the engine bay with white bilgecoat in preparation to drop the engine in
hopefully this next week! YAHOO!
hopefully this next week! YAHOO!
| 
|
 RSS Feed
