Winter is coming! After our last few storms this fall we decided to get our boat all wrapped up before the storms really hit! This would be Jeff's second attempt at shrink wrapping, the first was on our 19 foot ski boat in our driveway! So we dove on in!
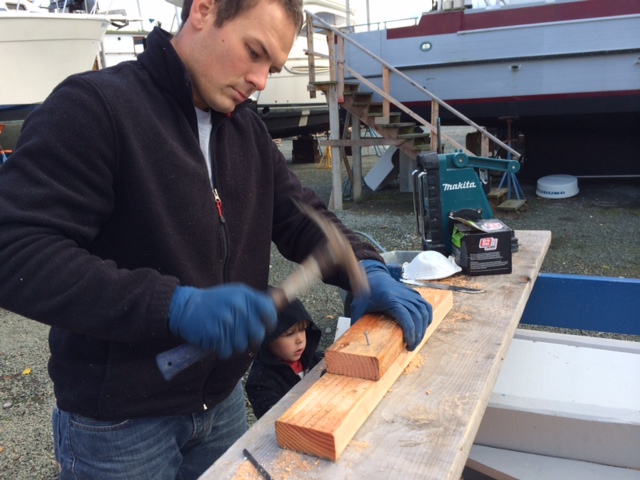
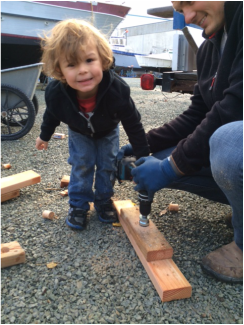
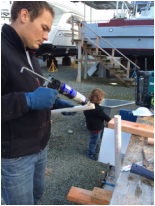
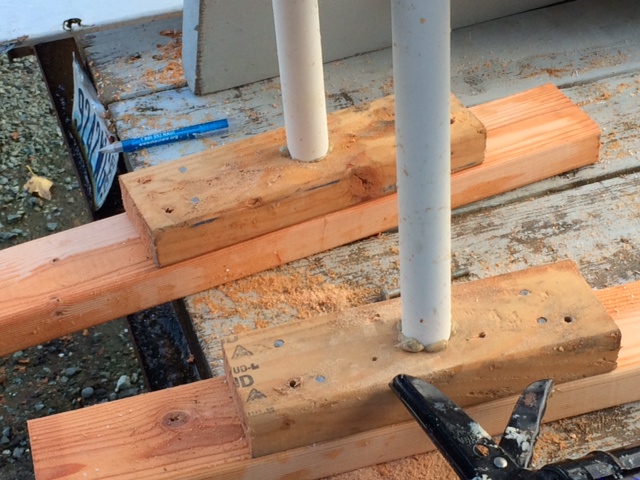
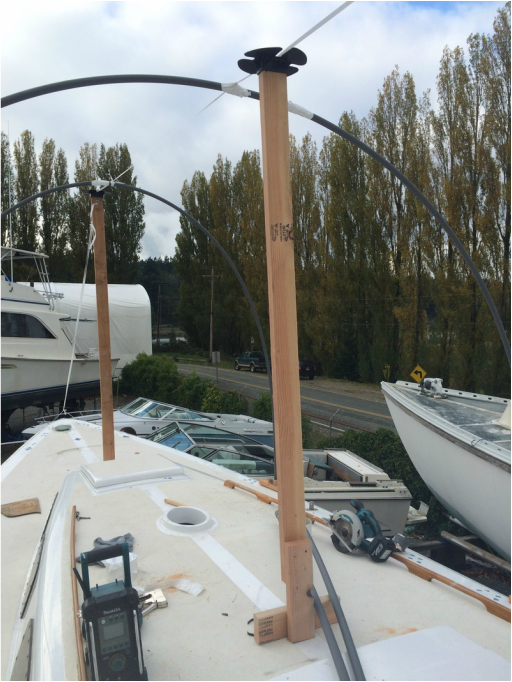
Step 1: Build a support frame.
 |  |  |  |
 |  |  |
Step 2: Get the shrink wrap onto and covering the boat.
Do you ever do something and think to yourself, "Wow I would love to sit over there and be completely entertained by what we are doing?" This was one of those times! This HUGE roll of shrink wrap weighed A LOT! There was no way we were going to get it onto the boat, so we used some scaffolding that was near us and a long pipe from something (its a boat yard! you can always find something to help you improvise!) and ta-da, we had our own application apparatus.
Do you ever do something and think to yourself, "Wow I would love to sit over there and be completely entertained by what we are doing?" This was one of those times! This HUGE roll of shrink wrap weighed A LOT! There was no way we were going to get it onto the boat, so we used some scaffolding that was near us and a long pipe from something (its a boat yard! you can always find something to help you improvise!) and ta-da, we had our own application apparatus.
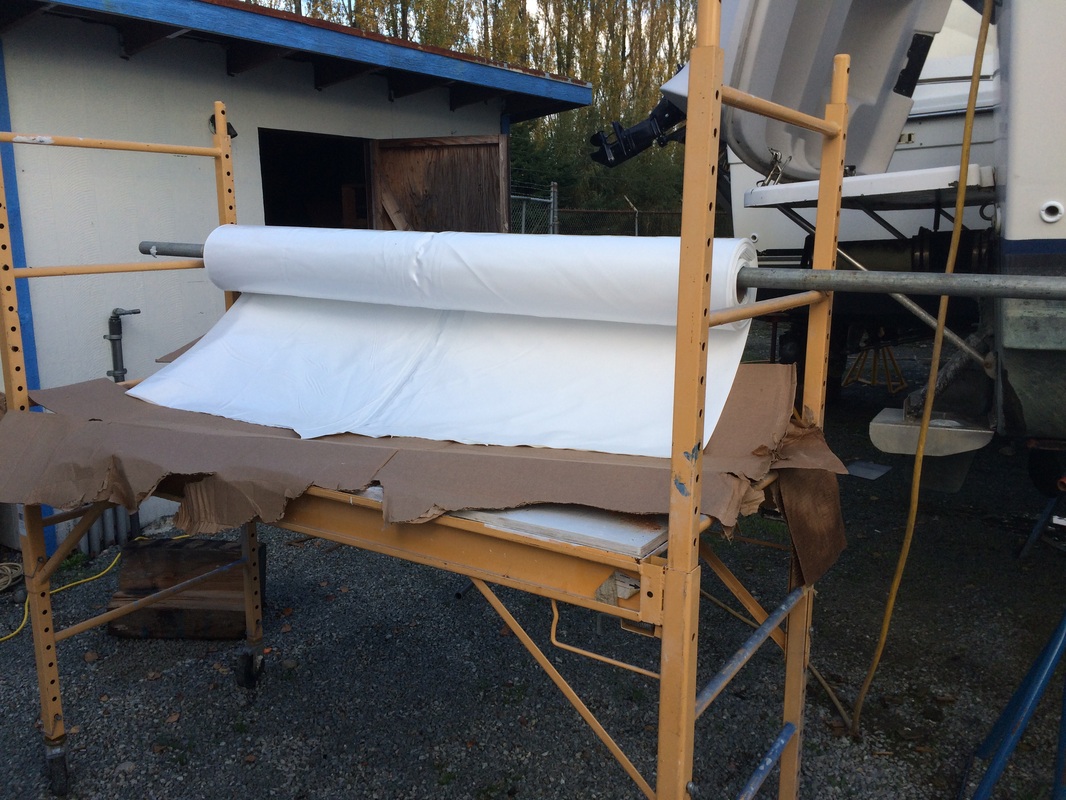
Together (this was the entertaining part!) we fed the wrapping up to the boat, over the supports, all the way past the bow. Once over the boat we began to cut and tuck the over hang into the belly band around the entire boat.
 |  |
Step 3: Shrink the wrapping.
Now by the time we had built the supports, dragged the wrapping across the whole thing and finished tucking ever inch into the belly band, it was dark! But the kids were all happily fed and watching a movie in our forward berth so we said, flame on! Seriously, flame on! To shrink all the wrapping we used a large blow torch! Being that it was night, actually helped Jeff to see where his flame was, making it easier to avoid getting the wrapping too hot, and scorching holes. Yes, we have quite a few at first, but as it goes with practice there were fewer and fewer! These holes were covered with shrink tape and we continued!
Now by the time we had built the supports, dragged the wrapping across the whole thing and finished tucking ever inch into the belly band, it was dark! But the kids were all happily fed and watching a movie in our forward berth so we said, flame on! Seriously, flame on! To shrink all the wrapping we used a large blow torch! Being that it was night, actually helped Jeff to see where his flame was, making it easier to avoid getting the wrapping too hot, and scorching holes. Yes, we have quite a few at first, but as it goes with practice there were fewer and fewer! These holes were covered with shrink tape and we continued!
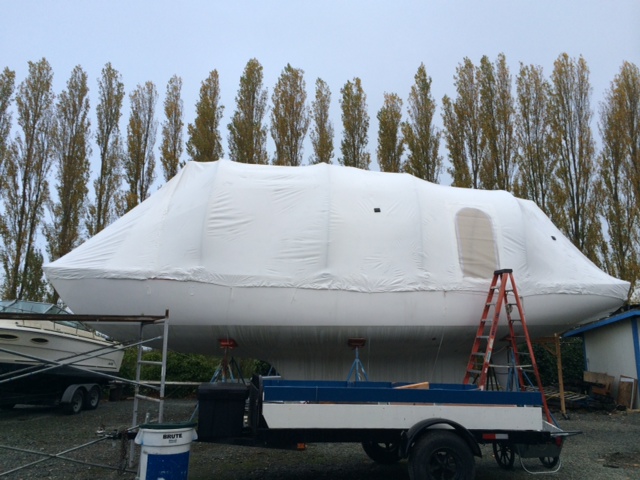
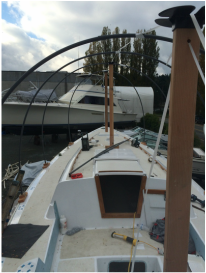
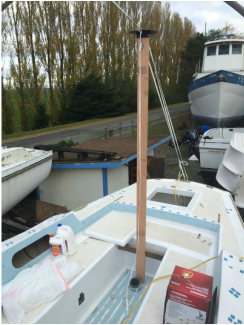
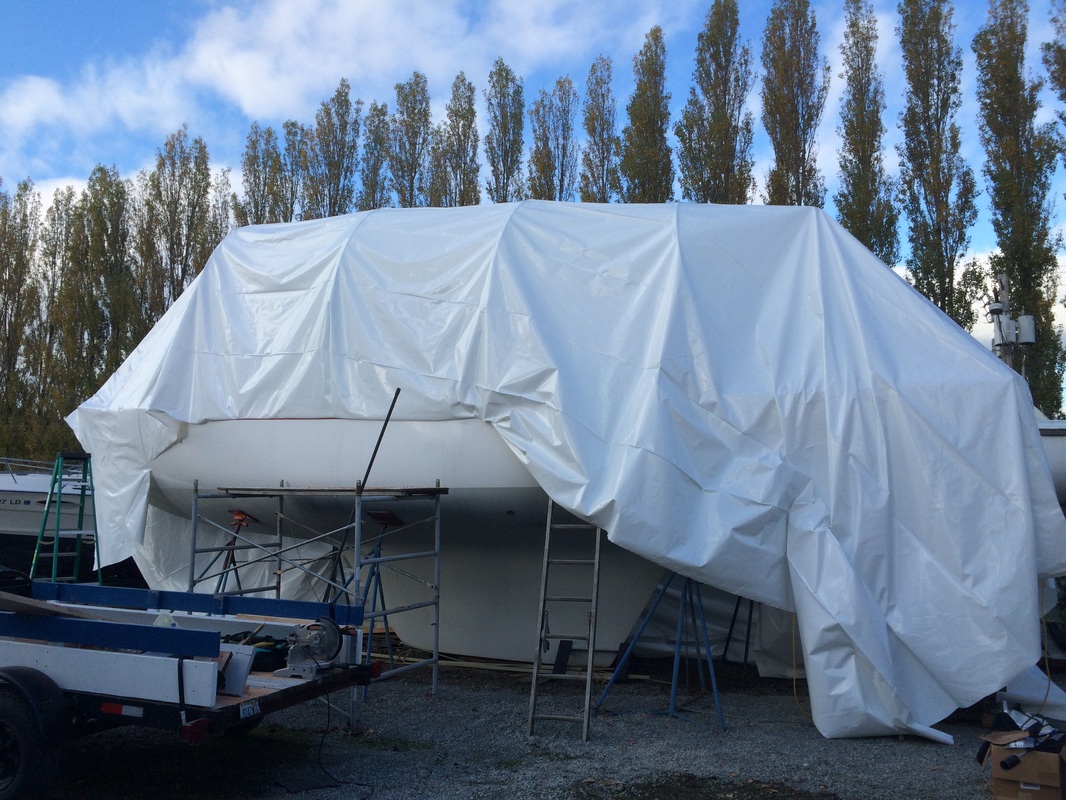
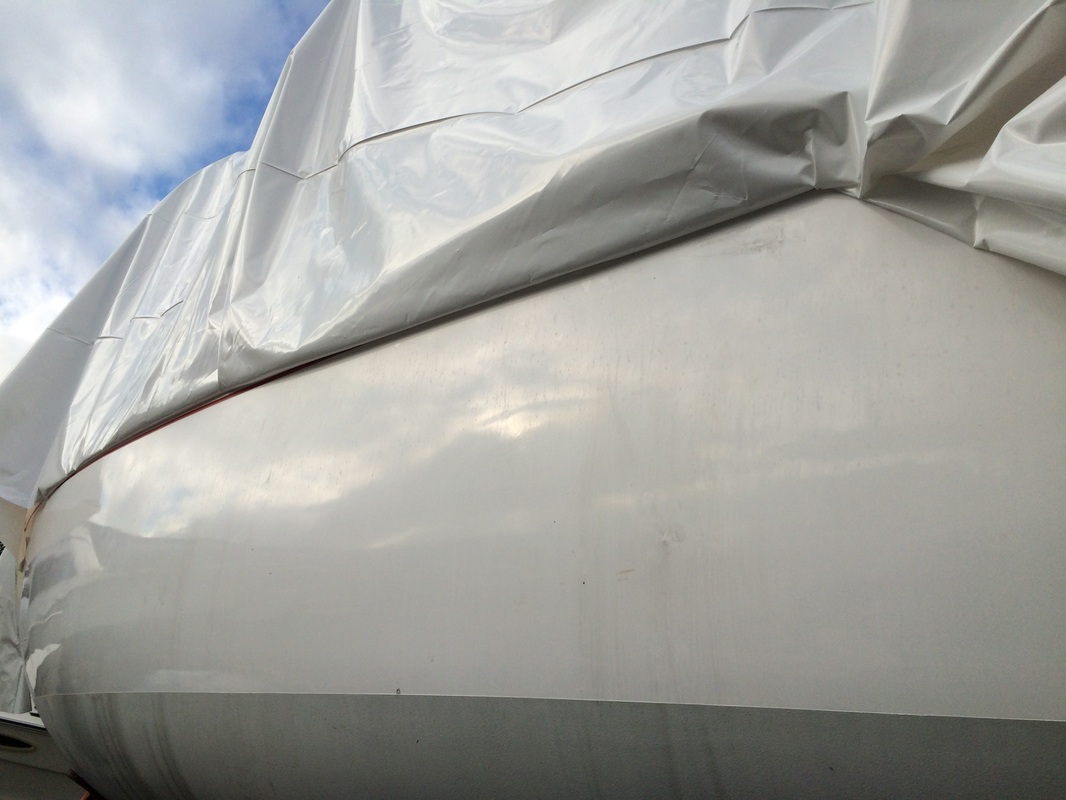
 BEFORE Looking forward 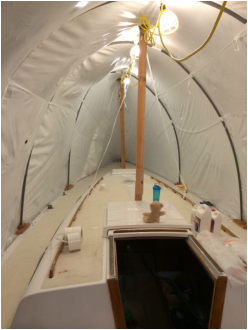 AFTER/DURING Looking forward | 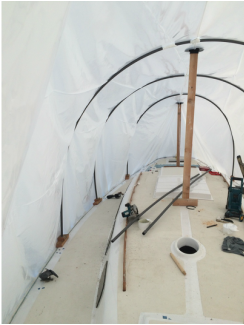 AFTER Looking aft 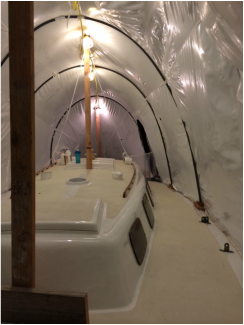 AFTER/DURING Looking aft |
Step 4: Pray it holds up!
So we were not able to completely finish the entire shrinking process as we ran out of propane and it was 11pm so the local store was closed. That next week a huge windstorm blew through and our cover was still standing...kinda! The heavy gusts managed to rip the PVC out of a few of the blocks we had made (the pictures above are the newest rendition!), however the belly band and other supports kept the over all shape and our boat was still covered and dry!
So we were not able to completely finish the entire shrinking process as we ran out of propane and it was 11pm so the local store was closed. That next week a huge windstorm blew through and our cover was still standing...kinda! The heavy gusts managed to rip the PVC out of a few of the blocks we had made (the pictures above are the newest rendition!), however the belly band and other supports kept the over all shape and our boat was still covered and dry!
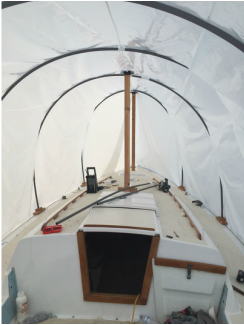
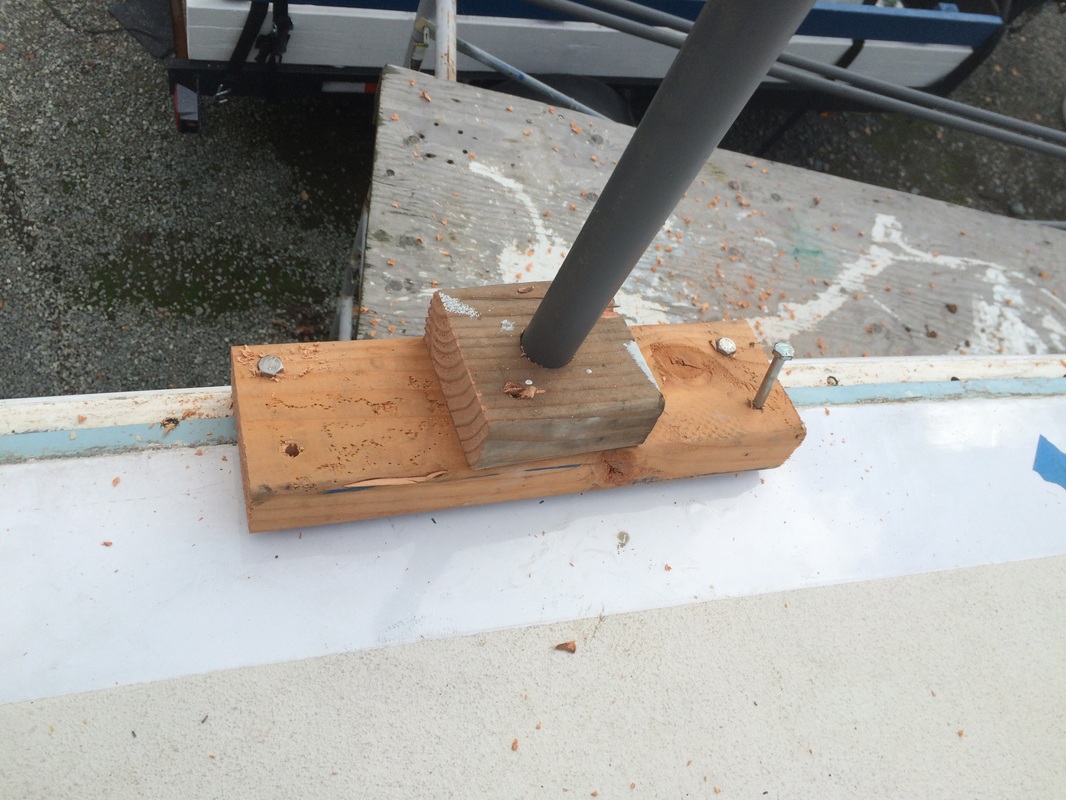 BEFORE Just a long pvc pipe bent across to the other side set into the blocks with just pressure | 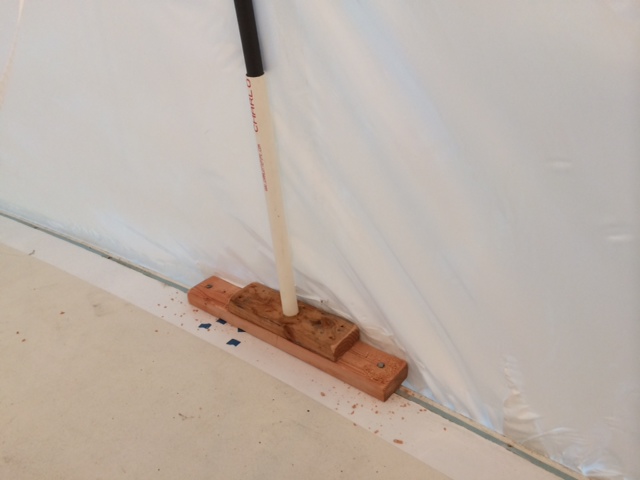 AFTER We installed a sleeve for the main pvc to slip into for more rigidity. |
It has been about 3 months now and our boat is cozy and warm! It is wonderful to be able to come out and work on the deck or have the kids play above deck, while we work below! we have two heaters that we keep running so between the sun and them the boat is quite pleasant to be in, even when it is freezing outside!
 RSS Feed
